




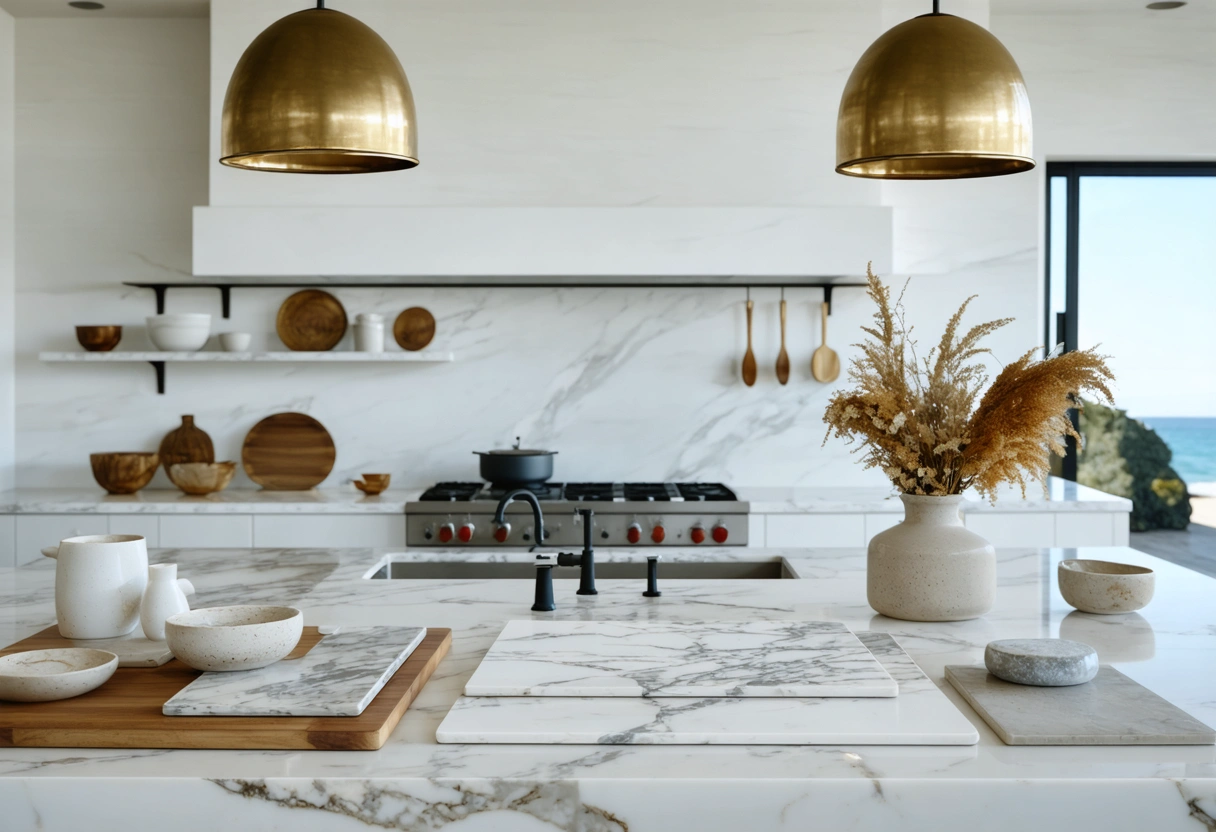
When planning a countertop project, it is easy to focus on slab material, color, and layout. Those choices matter, but the finishing details often have an equally strong effect on how the finished space looks, feels, and functions every day.
Countertop edges, backsplash details, seams, overhangs, caulk lines, and hardware coordination all influence the final impression. Thoughtful choices in these areas can make a kitchen, bathroom, laundry room, or bar area feel more polished, custom, and practical without changing the entire design plan.
Why Finishing Details Shape the Entire Countertop Design
Finishing details are the transition points between surfaces, materials, and daily use. A countertop connects to cabinets, walls, appliances, sinks, faucets, and lighting, so every edge and junction affects both appearance and performance.
A thick countertop edge can make a space feel substantial and architectural, while a slim, simple edge can support a clean modern look. Some edge profiles are easier to wipe clean than others, and some backsplash designs reduce grout lines or eliminate hard-to-clean gaps behind the sink or cooktop.
How Small Choices Affect the Overall Style
The same countertop slab can look traditional, transitional, modern, or rustic depending on the details around it. A decorative ogee edge may bring a classic feel to a vanity or island, while a squared or eased edge keeps the look understated and contemporary.
Backsplash height, tile scale, grout color, and trim pieces also help define the style of the room. A quiet backsplash can let a bold countertop take center stage, while a full-height slab backsplash can turn a simple cabinet layout into a luxury feature.
Choosing the Right Countertop Edge Profile
The countertop edge profile is one of the most visible finishing choices, especially on islands, peninsulas, bar tops, and exposed cabinet runs. It frames the surface and affects how light catches the material along the perimeter.
Common edge options include eased, bevel, bullnose, half bullnose, ogee, and mitered profiles. Each has a different visual weight and level of detail, so the right choice depends on the countertop material, room style, cabinet design, and how the surface will be used.
Eased and Straight Edges
An eased edge is one of the most versatile countertop options. It has a mostly square look with slightly softened corners, which reduces sharpness while maintaining a clean profile.
This edge works well with quartz, granite, marble, solid surface, and many other materials. It is especially popular in modern and transitional spaces because it does not compete with cabinet hardware, backsplash patterns, or natural stone veining.
Bullnose and Rounded Edges
Bullnose edges have a rounded shape that creates a softer, more traditional appearance. A full bullnose rounds both the top and bottom of the edge, while a half bullnose rounds the top portion and leaves the underside flatter.
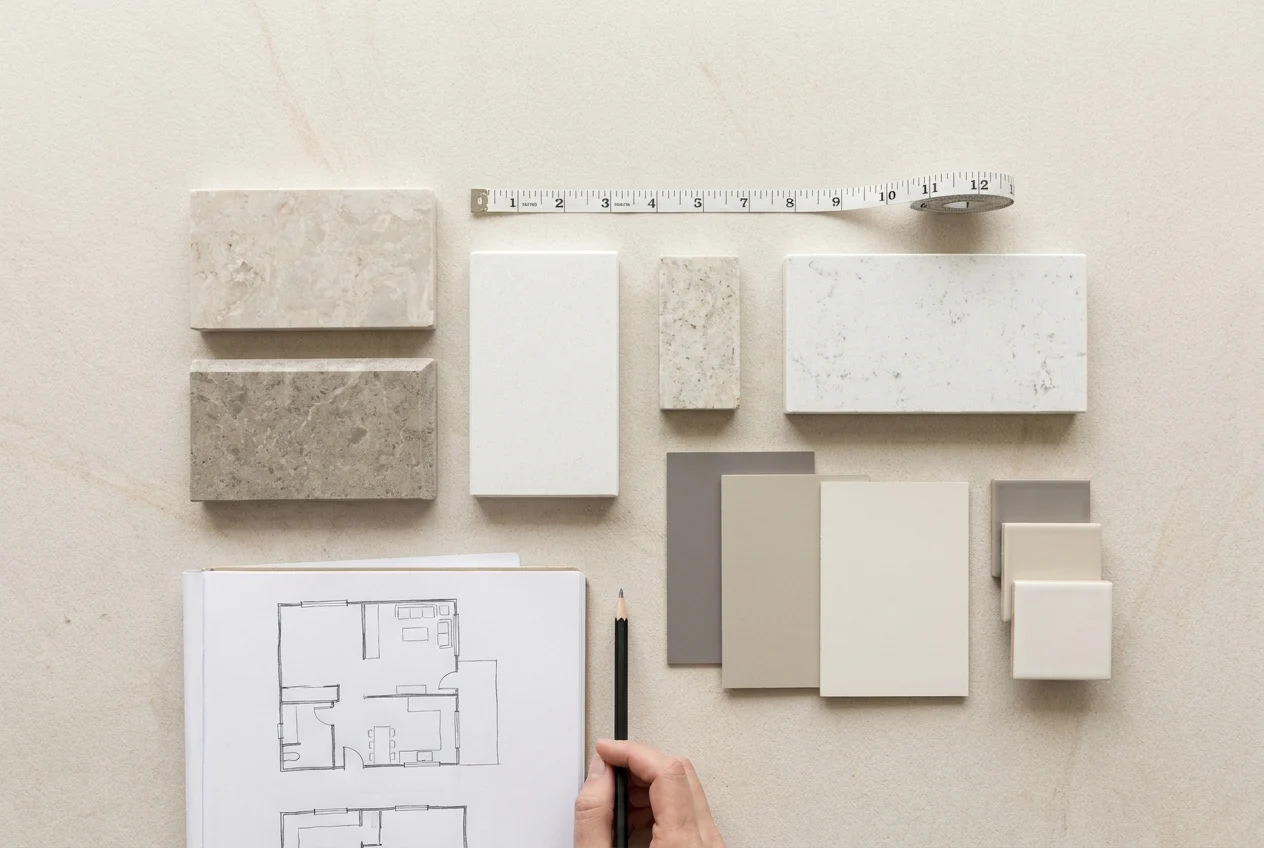
Rounded edges can be comfortable in busy kitchens and family spaces because they feel smooth to the touch and reduce harsh corners. However, they may not suit every style, and the curved profile can make a countertop appear more casual.
Beveled Edges
A beveled edge has an angled cut along the top edge of the countertop. The bevel may be subtle and narrow, or wider for a more noticeable design statement.
Beveled edges are a strong option for transitional kitchens because they bridge traditional and contemporary styles. They can also catch light beautifully on stone surfaces, especially materials with movement, sparkle, or depth.
For a refined look, a small bevel can be paired with simple shaker cabinets, polished nickel hardware, and a classic tile backsplash. For more drama, a larger bevel may work well on an island where the edge is highly visible.
Ogee and Decorative Edges
An ogee edge has a sculpted profile, usually with an S-shaped curve that creates shadow and detail. It is often associated with traditional, formal, or luxury countertop designs.
This style can be effective on bathroom vanities, built-in bars, butler pantries, and large kitchen islands where a furniture-like appearance is desired. It pairs well with raised-panel cabinetry, detailed crown molding, ornate fixtures, and classic natural stone.
Because ogee edges have more grooves and curves, they may take slightly more effort to wipe clean than a simple eased edge. They can also feel too decorative in very minimal spaces.
Mitered Edges and Thick-Look Countertops
A mitered edge creates the appearance of a thicker countertop by joining a vertical edge piece to the top surface at a clean angle. This technique is often used when a designer wants a bold look without using an extremely thick slab throughout.
Mitered edges are popular in modern kitchens, waterfall islands, floating vanities, and statement bar tops. They work especially well with quartz and porcelain slabs, as well as natural stone with dramatic veining that can be aligned at the edge.
The success of a mitered edge depends on precise fabrication and installation. Poorly matched veining or visible joints can distract from the design, while a well-executed miter can make the countertop look seamless, architectural, and custom.
Matching Edge Profiles to Room Function
The best edge profile is not only about style. It should suit the way the room is used. A busy family kitchen, a guest bathroom, and a decorative wet bar may all call for different levels of detail and durability.
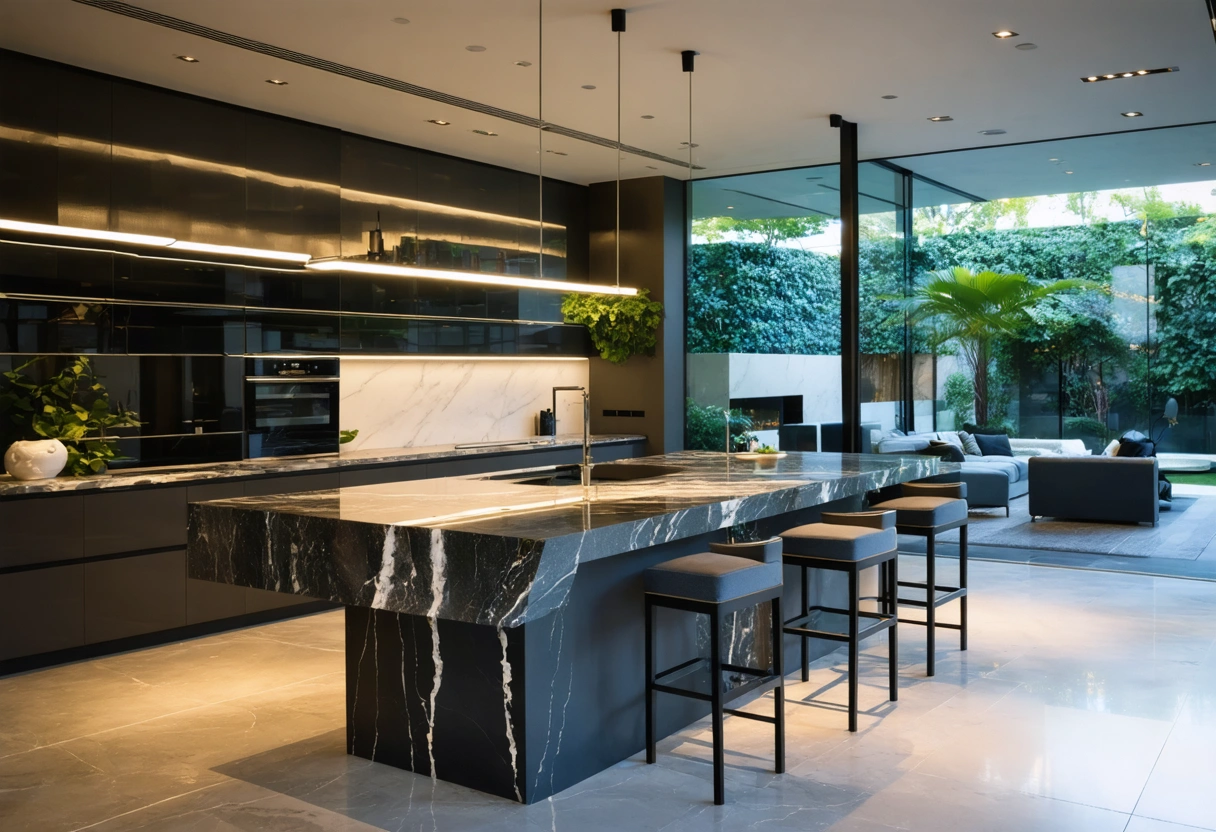
In high-traffic kitchens, simple edges such as eased, small bevel, or half bullnose profiles are often practical choices. They are easy to clean, comfortable to use, and less likely to feel dated over time.
Edges for Kitchen Islands
Kitchen islands deserve special attention because they are visible from multiple sides and often serve as gathering places. The edge profile can make the island feel more casual, elegant, or substantial.
A mitered edge can give an island a bold contemporary presence. An eased edge can keep it simple and timeless. A decorative edge can help it resemble custom furniture, particularly when paired with accent cabinetry or turned legs.
If the island includes seating, comfort matters. A very sharp-looking edge may not feel ideal where people lean their arms or sit for long periods.
Edges for Bathrooms and Vanities
Bathroom vanities are viewed up close, so they often benefit from slightly softer or more decorative edges. A small bevel, half bullnose, or ogee edge can add detail without overwhelming the space.
In compact bathrooms, a simple edge may help the vanity feel lighter and cleaner. In a primary bathroom with a furniture-style cabinet, a more detailed edge can contribute to a spa-like or traditional look.
Since bathrooms involve water, soap, toothpaste, and cosmetics, choose an edge that can be cleaned easily. Deep grooves or ornate profiles may collect residue more readily than smoother options.
Backsplash Choices That Change the Look and Performance
The backsplash is one of the most important finishing decisions in a countertop project. It protects the wall, frames the countertop, and strongly influences the room’s style.
Backsplashes can be made from tile, countertop slab material, glass, stone, metal, quartz, porcelain, or other durable surfaces. The right choice depends on budget, cleaning needs, design goals, and how much visual contrast the room needs.
Short Countertop Backsplashes
A short backsplash, often around four inches high, is commonly made from the same material as the countertop. This option creates a simple transition between the counter and wall while offering basic protection from splashes.
Short stone or quartz backsplashes are practical in bathrooms, laundry rooms, utility spaces, and budget-conscious projects. They are easy to clean and can often be installed as part of the countertop package.
In kitchens, a short backsplash may be used alone or paired with painted wall space above it. Behind sinks and cooktops, however, a taller or more protective backsplash is often easier to maintain.
Full-Height Slab Backsplashes
A full-height slab backsplash extends from the countertop to the underside of upper cabinets, shelves, a range hood, or even the ceiling. This creates a seamless, high-end look that highlights the countertop material and reduces grout lines.
Slab backsplashes are especially striking with marble, quartzite, granite, quartz, and porcelain surfaces that have strong veining or bold patterns. When the veining is carefully planned, the backsplash can look like a continuous extension of the countertop.
This approach works well in modern kitchens, luxury bathrooms, wet bars, and statement walls behind ranges. It is also practical because large slab surfaces are typically easier to wipe clean than tile with many grout joints.
Tile Backsplashes
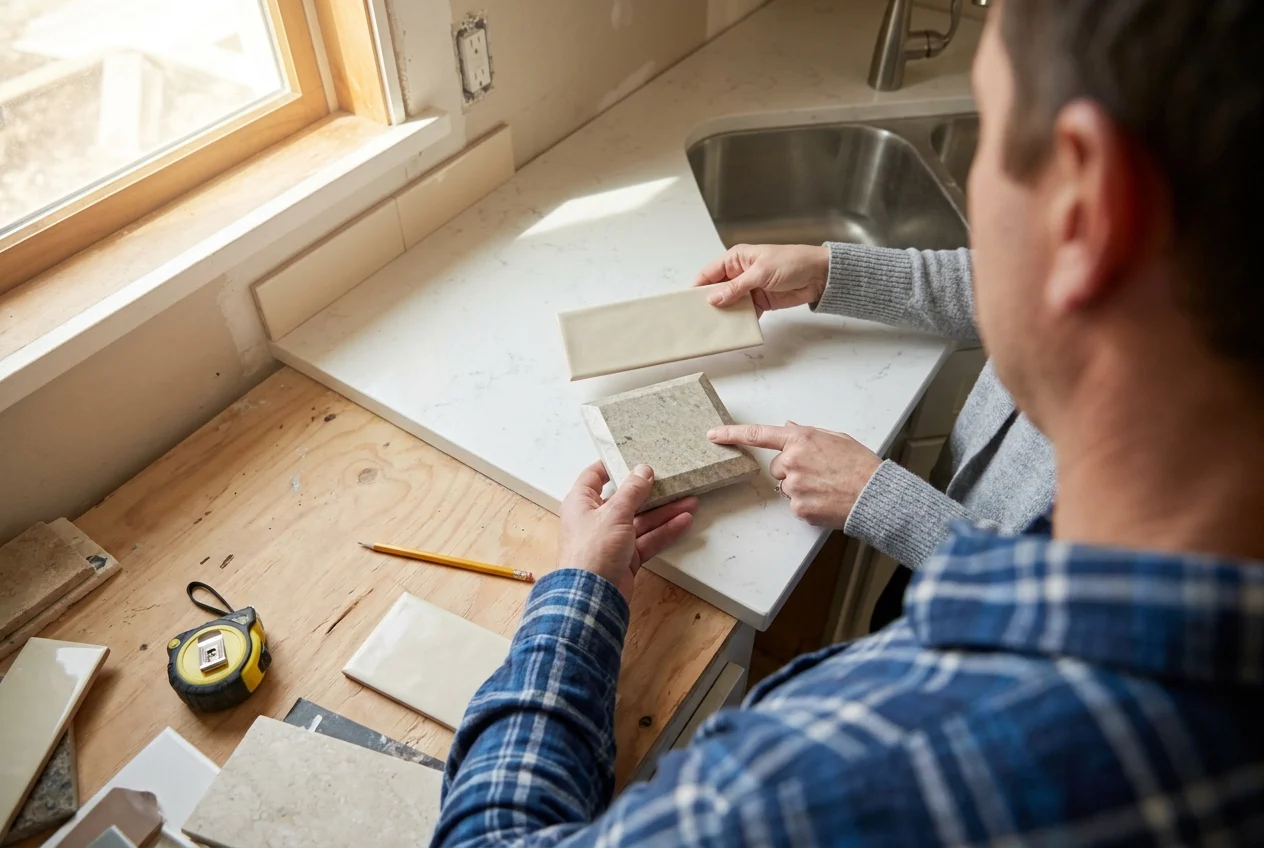
Tile backsplashes offer enormous design flexibility. They can introduce color, texture, pattern, and contrast while allowing the countertop to remain simple. Popular options include subway tile, handmade ceramic tile, marble mosaic, porcelain tile, zellige-style tile, and geometric patterns.
The size and layout of the tile affect the final impression. Large-format tile can feel clean and contemporary, while small mosaics create more texture and detail.
Grout color is another important detail. Matching grout creates a softer, more seamless look, while contrasting grout emphasizes the shape and layout of the tile.
Coordinating Countertops and Backsplashes
A successful countertop and backsplash combination usually has a clear hierarchy. One surface should often be the focal point, while the other supports it. If both are highly patterned, the result can feel visually crowded unless the colors and scale are carefully balanced.
For countertops with dramatic veining, a quieter backsplash often works best. For simple solid or lightly patterned countertops, the backsplash can become a place to add character through color, texture, or pattern.
Using the Same Material for Both Surfaces
Using the same material for the countertop and backsplash creates a cohesive, uninterrupted look. This is especially effective when the material has beautiful veining, subtle movement, or a refined solid color.
For example, a quartz countertop with soft gray veining can continue up the wall for a calm and elegant effect. A dramatic marble or quartzite slab can become the main design feature when carried vertically behind a range or vanity.
This approach also simplifies cleaning because there are fewer material changes and fewer grout lines. The main considerations are cost, slab availability, and careful layout planning so seams and patterns fall in attractive locations.

Balancing Pattern and Color
When mixing countertop and backsplash materials, it helps to repeat at least one color between them. A warm white tile can coordinate with creamy quartz, while a gray-veined stone may pair well with a tile that picks up the gray tones in the slab.
If the countertop has strong movement, a simple backsplash in a related neutral usually creates balance. If the countertop is quiet, the backsplash can introduce handmade texture, a patterned mosaic, or a richer accent color.
Lighting also affects how colors relate to each other. Materials that look coordinated in a showroom may appear warmer, cooler, darker, or brighter under home lighting.
Seams, Joints, and Layout Details
Seams are a normal part of many countertop installations, especially with large kitchens, long runs, oversized islands, or materials with limited slab sizes. While seams cannot always be avoided, their placement and execution make a major difference.
A well-planned seam is positioned where it is less noticeable and less disruptive to the design. Poor seam placement can interrupt veining, draw attention to a visible area, or create an awkward break near a sink or appliance.
Planning Seam Placement
Common seam locations include corners, cooktop areas, sink runs, and transitions between cabinet sections. The best location depends on slab size, countertop layout, cabinet support, material type, and pattern direction.
On heavily veined stone, seam placement should be considered along with the flow of the pattern. Bookmatched or vein-matched layouts can look stunning, but they require careful planning and skilled fabrication.
For islands and peninsulas, minimizing seams is often a priority because these surfaces are highly visible. If a seam is necessary, it should be placed where it makes structural and visual sense, not simply where it is easiest to cut.
Color-Matched Adhesives and Tight Joints
The adhesive or epoxy used at seams should coordinate with the countertop color. A close color match helps the joint blend in, especially on solid, light, or dark materials where contrast can be noticeable.
Tight, level seams are important for both appearance and function. Uneven joints can collect crumbs, catch cloths during cleaning, or become more visible as light moves across the surface.
Although some seams will always be visible on close inspection, quality fabrication and installation can make them feel intentional and unobtrusive.

Overhangs, Support, and Seating Comfort
Countertop overhangs affect both style and usability. They determine how much the countertop extends beyond the cabinets and whether the surface can comfortably support seating, serving, or work tasks.
Standard cabinet overhangs are usually modest, creating a finished edge that protects cabinet faces and provides a clean reveal. Seating overhangs are deeper and need to be planned carefully so people have enough knee room.
Comfortable Seating Overhangs
For counter-height seating, an overhang of around 12 inches is often considered a comfortable minimum, while deeper overhangs may be preferred when space allows. Bar-height and table-height areas may have different needs depending on stool height and layout.
Insufficient overhang can make seating feel cramped because people cannot pull close enough to the counter. Too much unsupported overhang can create structural concerns, especially with heavy stone materials.
The edge shape also matters at seating areas. A slightly softened edge is more comfortable for arms and elbows than a very crisp or sharp profile.
Hidden and Decorative Supports
Depending on the material and depth of the overhang, supports may be required. These can include corbels, brackets, steel plates, posts, or concealed support systems.
Decorative corbels can enhance a traditional or farmhouse-style island, while hidden steel supports are often preferred in modern kitchens where a floating look is desired.
Support needs should be confirmed before fabrication and installation. Adding support after the countertop is installed can be more difficult and may affect the finished appearance.
Bringing the Details Together
The best countertop projects feel intentional from edge to wall. When the edge profile, backsplash, seams, overhangs, and supports are planned together, the finished room looks more refined and works better for daily routines.
These details may seem small during the planning stage, but they are the parts people see, touch, and clean every day. Choosing them carefully helps create a countertop installation that feels complete, balanced, and built for the way the space is actually used.
Need help with Countertop Edges, Backsplashes, and Finishing Details That Make a Big Difference?