





Cabinet refacing updates a kitchen or bathroom without removing structurally sound cabinet boxes. Instead of replacing the entire cabinet system, an installer covers visible frames and panels with new material, then adds new doors, drawer fronts, and hardware.
Understanding the process can help you decide whether refacing fits your cabinets, budget, and design goals. It also helps you plan material selections, installation, and household disruption.
What Changes During Cabinet Refacing?
Refacing focuses on the exterior components visible when doors and drawers are closed. Existing cabinet boxes remain in place, while face frames, side panels, and other exposed surfaces receive matching veneer, laminate, or thin finished panels.
The project may also include hinges, pulls, knobs, molding, toe kick coverings, and finished end panels. Together, these elements create a consistent appearance across the cabinet run.
Refacing, Refinishing, and Replacement
Refinishing involves cleaning, sanding, repairing, and painting or staining existing cabinet surfaces. Refacing replaces doors and drawer fronts while covering visible framework, allowing a more substantial style change.
Full replacement removes the cabinet boxes as well. It is usually more appropriate when boxes are damaged, the layout is inefficient, or major changes to appliance placement and storage are needed.
Step 1: Inspect the Existing Cabinet Boxes
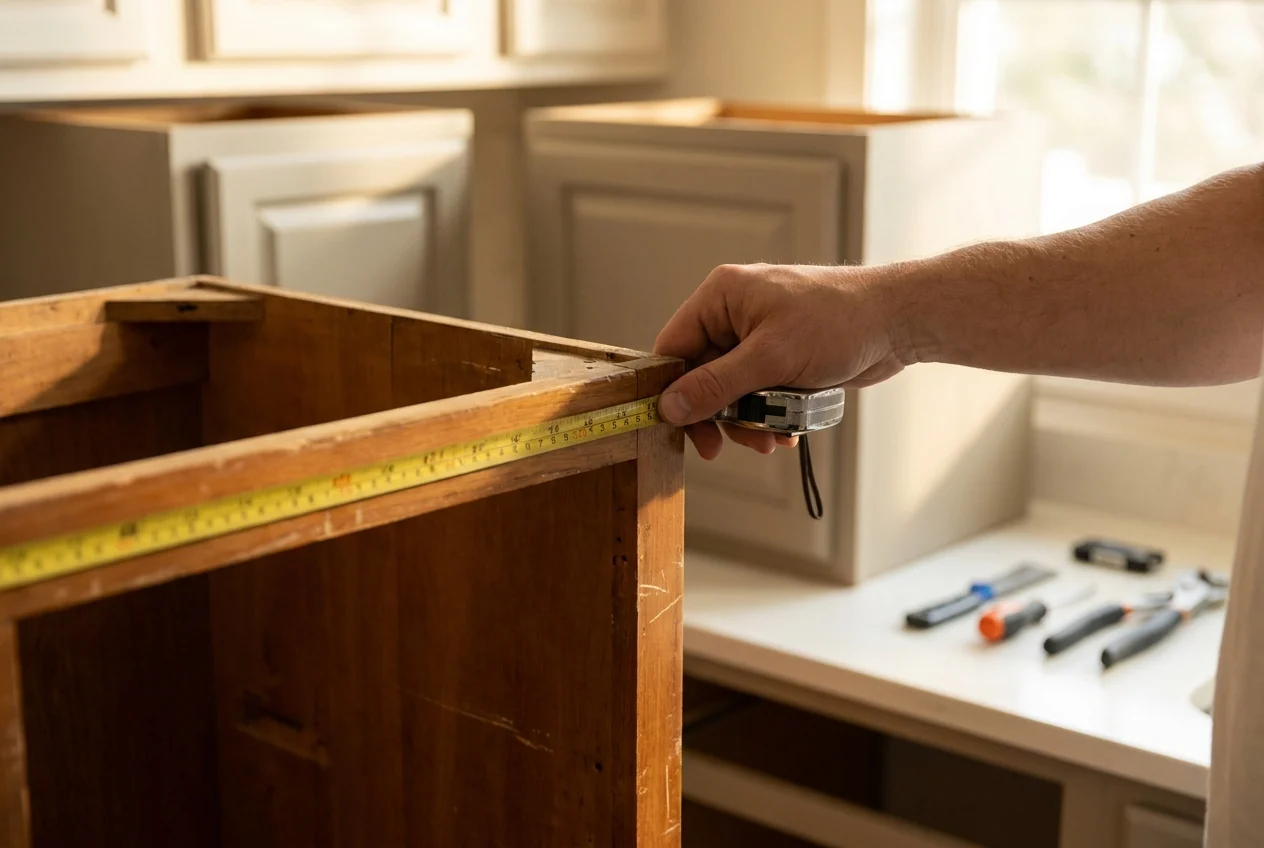
First, determine whether the cabinets are suitable for refacing. Boxes should be secure, reasonably square, and free from extensive water damage, mold, swelling, or structural deterioration. Minor cosmetic flaws, worn edges, loose joints, and small cracks may be repairable.
Evaluate Layout and Storage
Refacing will not move appliances, enlarge openings, or significantly change the room’s footprint. Confirm that the current work areas, traffic flow, and storage capacity meet your needs. This is also the time to consider functional improvements such as new drawer slides, hinges, pullout shelves, or interior organizers.
Step 2: Choose the Style and Materials
After approving the boxes, select doors, drawer fronts, surface materials, finishes, and decorative details. Options may include raised panel, Shaker, and flat slab doors. The chosen style must complement the room and work with the dimensions and construction of the existing cabinets.
Select a Refacing Surface
Exposed frames and panels need a material that coordinates with the new doors. Common choices include wood veneer, laminate, rigid thermofoil, and thin finished panels. Wood veneer offers natural grain and varied stain colors, although differences in grain and gradual color changes are normal.
Consider maintenance and durability as well as appearance. Busy kitchens may benefit from surfaces that resist stains and are easy to clean.
Coordinate Color, Hardware, and Trim
Compare samples with countertops, flooring, walls, backsplash tile, and appliances under the home’s actual lighting. Choose pulls, knobs, hinges, molding, toe kicks, and end panels early so the installer can plan hole locations, clearances, and trim modifications.
Step 3: Measure Every Component
Accurate measurements are critical because doors and drawer fronts are usually ordered for specific openings. The installer records each opening and determines whether doors will overlay the frame or sit partially or fully inside it.
Measurements are also taken for face frames, sides, toe kicks, valances, fillers, and exposed panels. Corners, appliance clearances, and possible door conflicts require careful attention.
Account for Hinges and Overlays
Overlay describes how much frame a closed door covers. Changing it affects the cabinet’s appearance and may require different hinges. Hinge boring must match the hardware and door thickness. For concealed soft close hinges, the installer also verifies adequate mounting space.

Label Each Opening
Professionals assign a number or location code to each opening and its matching component. This prevents similar doors or drawer fronts with small dimensional differences from being installed in the wrong locations.
Step 4: Order Materials and Prepare the Room
Once measurements and selections are confirmed, doors, drawer fronts, surface materials, hinges, and accessories are ordered. Custom items may require a production period before installation.
Before work begins, protect countertops and flooring. Remove food, dishes, small appliances, and fragile objects near the cabinets. A temporary food preparation area can reduce inconvenience. Major appliances and the sink often remain, although access may be limited during parts of the project.
Step 5: Remove Doors, Drawer Fronts, and Hardware
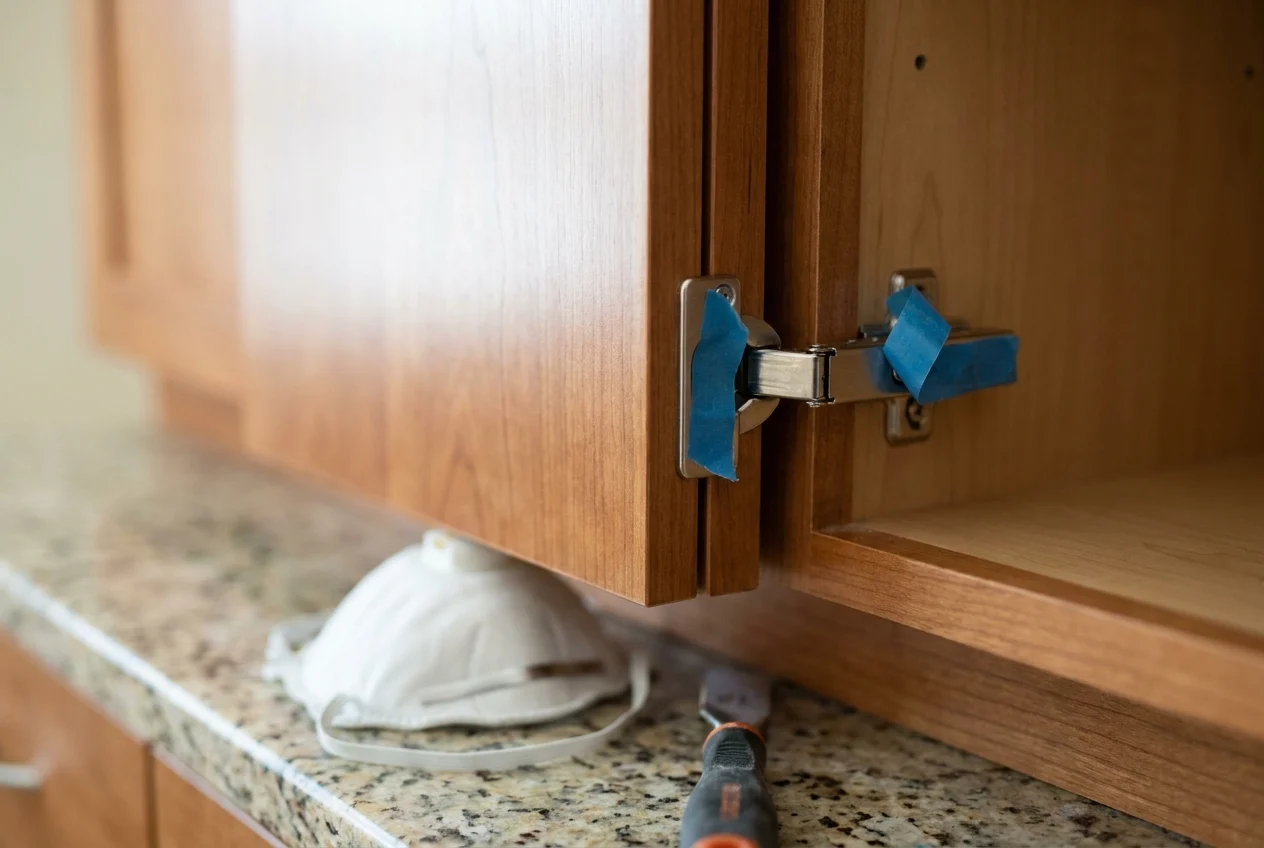
Installation starts by removing existing doors, drawer fronts, hinges, knobs, and pulls. Drawer boxes may also be removed temporarily to provide access to the frames.
This exposes previously hidden areas so loose joints, damaged edges, and mounting problems can be corrected. Old screw holes may need filling when new hinges or handles use different locations. Hardware upgrades must suit the cabinet construction because soft close products cannot correct warped boxes or severely misaligned openings.
Step 6: Clean, Repair, and Prepare Surfaces
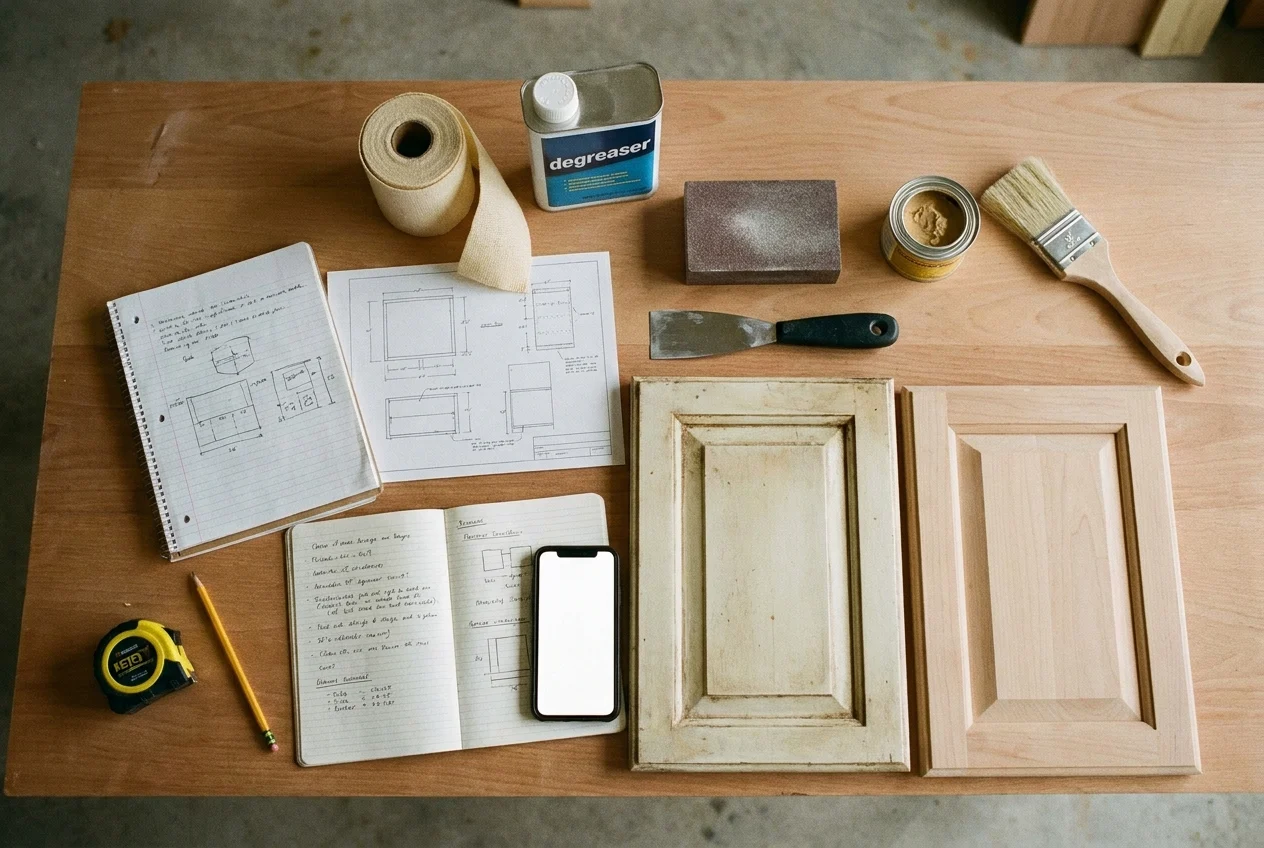
Preparation strongly affects durability. Cabinet frames often hold cooking oil, cleaner residue, and dust that can prevent proper adhesion. Installers clean the surfaces without saturating or damaging the substrate.
Loose laminate, chipped edges, dents, and uneven joints are repaired. High areas may be leveled, while small depressions are filled with compatible material.
Why Preparation Matters
Coverings applied over grease, dust, moisture, or unstable material may lift, reveal bumps, or develop a weak bond. Preparation methods vary for wood, plywood, medium density fiberboard, and older laminate, so the process must match both the substrate and adhesive system.
Step 7: Apply Veneer or Laminate
The installer covers visible cabinet framework, usually beginning with larger flat areas before moving to narrow rails and stiles. Material may be cut slightly oversize, carefully positioned, and pressed into place with tools that create an even bond.
Excess material is trimmed flush around openings and edges. Precise trimming matters because uneven cuts may remain visible after door installation.
Cover End Panels and Toe Kicks
Cabinet ends often receive larger finished panels instead of narrow veneer strips. Toe kicks and other exposed areas are covered to coordinate with the doors. Near sinks, dishwashers, or bathroom fixtures, edges should be sealed according to the manufacturer’s instructions to limit moisture intrusion.
Step 8: Install Doors and Drawer Fronts
After covering the boxes, the installer matches each new door and drawer front to its labeled opening. Hinges are adjusted so doors hang level and maintain even gaps. Drawer fronts are centered and secured from inside the drawer boxes.
Check Clearance and Alignment
Every component must open without striking walls, appliances, trim, neighboring doors, or hardware. Corner cabinets need particular attention because large overlays or pulls may create conflicts.
Hinge adjustments can correct doors that sit too high, low, deep, or close together. Pairs of doors should meet evenly, and horizontal lines should remain consistent across adjacent drawer fronts.

Step 9: Add Hardware, Trim, and Upgrades
Knobs and pulls are installed after alignment. Templates help position holes consistently, but the installer should first confirm that hardware is comfortable to grasp and will not hit nearby surfaces.
Molding, light rails, finished panels, and other trim are then fitted. Seams and exposed edges may receive matching touchup material.
Add Functional Improvements
Refacing can include soft close hinges, full extension slides, pullout shelves, waste bin systems, and tray dividers. Some fit existing cabinets easily, while others require precise dimensions, new drawer boxes, or stronger mounting points. Weight limits, plumbing, and electrical obstructions must be considered before installation.
Step 10: Inspect the Work and Clean Up
The final inspection covers appearance, alignment, and operation. Doors and drawers should move smoothly, close securely, and maintain even spacing. Check veneer edges, panel seams, trim joints, hardware, and surfaces for lifting, gaps, scratches, or loose fasteners.
After adjustments, installers remove protective coverings, packaging, dust, and debris. Review the cabinets under normal room lighting and report concerns before approving the project.
Questions for the Final Walkthrough
Ask how to clean the surfaces, which products to avoid, and whether hinges may need later adjustment. Confirm warranty terms for doors, finishes, hardware, adhesives, and labor. Save touchup materials, product labels, finish names, and hardware specifications for future repairs.
How Long Does Cabinet Refacing Take?
Installation often takes several days, depending on the number of cabinets, required repairs, trim complexity, and optional upgrades. A bathroom vanity may be completed quickly, while a large kitchen with an island, decorative panels, and organizers requires more time.
Refacing usually creates less disruption than replacement because boxes, countertops, plumbing, and most appliances remain. Homeowners should still expect noise, dust, product odors, and periods of limited cabinet access.
Can Cabinet Refacing Be a DIY Project?
Experienced homeowners may reface simple cabinets, but the work demands accurate measurements, thorough preparation, precise trimming, and consistent alignment. Mistakes are especially noticeable along frame edges and closely spaced openings.
Professional installation may be preferable for expensive materials, unusual dimensions, inset doors, complex layouts, or extensive repairs. Professionals can also identify adhesives and hardware compatible with the cabinet construction.
Tools and Skills Required
The project may require measuring and cutting tools, rollers, clamps, drills, hinge jigs, and protective equipment. Installers must work around outlets, plumbing, appliances, and finished countertops without causing damage.
DIY homeowners should practice applying and trimming the selected material before working on a prominent cabinet. Always follow instructions for ventilation, adhesive handling, curing time, and personal protection.
Caring for Refaced Cabinets
Wipe spills promptly with a soft cloth and use only cleaners approved for the door and refacing materials. Avoid abrasive pads, harsh chemicals, and excess water around seams.
Use exhaust fans while cooking, repair plumbing leaks quickly, and adjust hinges if doors settle over time. With careful preparation, proper installation, and routine maintenance, refacing can provide a durable new appearance while preserving functional cabinet boxes.
Need help with How Cabinet Refacing Works: A Step-by-Step Guide for Homeowners?